
How to replace a turntable belt, and get the size right.
A stretched, hardened, or slipping belt is the most common failure on a belt-drive record player. The fix is cheap, but only if you buy the right size and fit it properly.
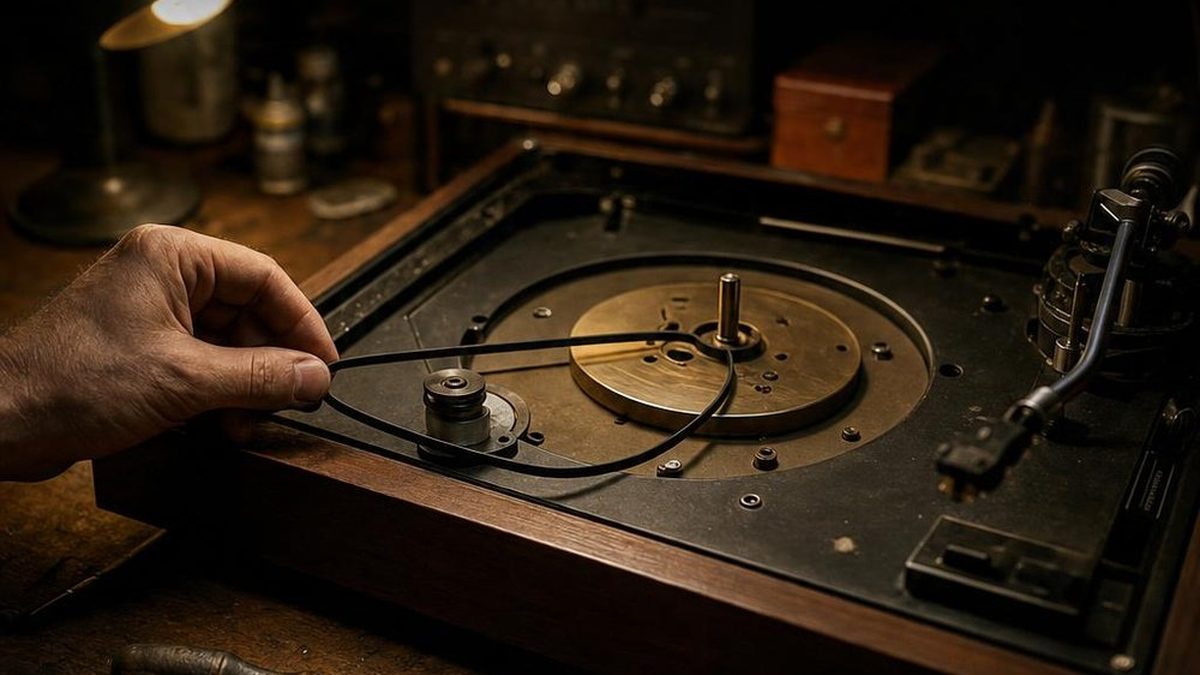
Unplug the deck, lift off the mat and platter, and photograph the belt path. Measure the old belt's inner circumference and width, buy a match, clean the motor pulley and platter rim with isopropyl alcohol, and fit the new belt with no twists. Run it unloaded for 5 to 10 minutes, then check the speed with a strobe.
Find your belt size
Three quick answers and you'll know exactly which belt to order.
A belt around a hub under the platter is a flat belt.
Measure the inner circumference with a flexible tape, never the outer.
Signs the belt is the problem
- Slow start-up. The platter takes many seconds to reach a steady speed instead of accelerating briskly.
- Speed that drifts or wobbles, which you can see with a phone strobe app or a strobe disc.
- Slipping under load. Play a quiet passage and press gently on the mat near the tonearm with a fingertip. If the pitch drops or stutters, the belt is slipping.
- A belt that looks wrong: shiny and glazed, cracked, flattened where it sat on a pulley, sticky or powdery, or hard instead of rubbery.
With the deck unplugged, spin the platter by hand. With a good belt and bearing, it should coast smoothly for several seconds. If it stutters or stops quickly, check the belt and the bearing.
Measure for the right belt
The most common mistake is buying the wrong size. Match the old belt's inner circumference, never the outer, plus its width, thickness and cross-section: round belts for decks where the belt runs around the outer platter rim, flat loops for sub-platter decks.
- If you have the old belt, lay it flat and measure the inner circumference with a flexible tape.
- If it's brittle, missing or still fitted, run non-stretch thread around the belt path, mark where it meets, and measure the thread. Add a small allowance, typically 1 to 2 mm, for fit.
- Photograph any part numbers on the old belt and note whether it ran on the rim or under the platter.
Materials matter too. Natural rubber matches many originals but ages faster. EPDM resists heat and ozone and makes a good all-purpose choice. Urethane is durable and less stretchy but can feel stiff on older decks. Avoid belts with solvents or conditioning oils, and never use a household rubber band.

Replace it, step by step
- Unplug the turntable and photograph it from the top, side and underneath, so you have the belt routing and every screw and washer on record. Secure the tonearm.
- Lift off the mat and platter. Remove any clip or nut on the spindle first, then lift straight up. If it sticks, rock it gently. Don't force it or pry with metal tools. On a sub-platter deck, lift the outer platter, then the sub-platter, and keep any spacers and shims in order.
- Clean the drive path. Wipe the motor pulley and the platter rim or hub with isopropyl alcohol on a lint-free cloth. Pick off hardened rubber with a wooden toothpick. Never use steel wool, which changes the pulley's profile.
- Check the pulley. Turn it by hand and look for burrs or grit with a bright light. A sharp ridge will chew a new belt quickly. Remove only burrs with very fine (600 to 1200 grit) paper, then clean again.
- Fit the new belt. For a rim-style deck, loop it around the motor pulley first, then over the platter rim, turning the pulley with a finger to help it seat. For a sub-platter deck, put it on the motor pulley, then work it over the hub. It should sit square in the grooves with no twists.
- Reassemble in reverse order, using your photos for spacers and washers. Keep screws hand-tight plus a small extra turn; overtightening can warp the plinth.

Test the new belt
Run the deck with no record for 5 to 10 minutes so the belt seats. It should run quietly; squealing, rasping or a periodic shudder means slip or a pulley defect. Then play a familiar record and check the speed with a strobe disc or app.
For tension, spin the platter up to speed and give it a gentle tap. It should come back to speed quickly. If it slows dramatically, the belt is too loose; if it stalls or feels stiff, it may be too tight. To check wobble, put a small piece of tape near the platter edge and watch it turn: side-to-side movement over about 0.5 to 1 mm means the platter isn't centered, so reseat it.
If the new belt doesn't fix it
- Speed better but still unsteady: try a second new belt, then check the platter bearing for drag.
- Belts keep shredding: look closely at the pulley and motor shaft for burrs, chips or grit.
- Still slipping: re-clean the pulley, or try the next inner size, a different material, or a slightly thicker belt.
- None of that helps: test the motor's torque with no load. Uneven torque points to motor service.
Belt work is low-voltage, but the motor and mains connections aren't. If a repair means opening a mains-connected enclosure, stop and take it to a qualified technician.
What you need for a belt swap
- Replacement turntable beltMeasure the old belt's inner circumference and width first, then match both.See options on Amazon →
- Turntable belt assortmentFor a deck whose belt is missing or unmarked: round and flat belts in common sizes.See options on Amazon →
- 99% isopropyl alcoholClean the motor pulley and platter rim so the new belt grips instead of slipping.See options on Amazon →
- Lint-free foam swabsGet alcohol into the pulley groove without leaving fibers behind.See options on Amazon →
- Digital caliperMeasure belt width and thickness exactly, so the replacement fits the pulley.See options on Amazon →
- Turntable strobe discConfirm 33 and 45 rpm hold steady after the 5 to 10 minute run-in.See options on Amazon →
These are Amazon links. If you buy through them I earn a small commission, at no extra cost to you.
Keep the checklist by the deck
Get the free Turntable Troubleshooting Checklist: seven quick checks to find the fault before you spend a dime on parts or hand it to a shop.
One free PDF, delivered instantly. No spam, unsubscribe anytime.

DIY Vintage Turntable Repair
The full guide: belts, idlers, bearings, speed, cartridge alignment, tonearm setup, auto-return mechanisms, wiring and hum, chapter by chapter.
Read it on Amazon →How do I know what size turntable belt to buy?
Match the old belt's inner circumference, width and cross-section. If the belt is missing, run non-stretch thread around the belt path, measure it, and add about 1 to 2 mm.
Can I use a rubber band as a turntable belt?
No. Use a proper replacement belt in natural rubber, EPDM or urethane, matched to the original's size.