
Choosing a blacksmith anvil: weight, steel, and a solid mount.
The anvil sets the rhythm of your hammering and the comfort of every hour at the forge. Weight matters, but so do the steel in the face, the shape of the horn, and how solidly it's mounted.
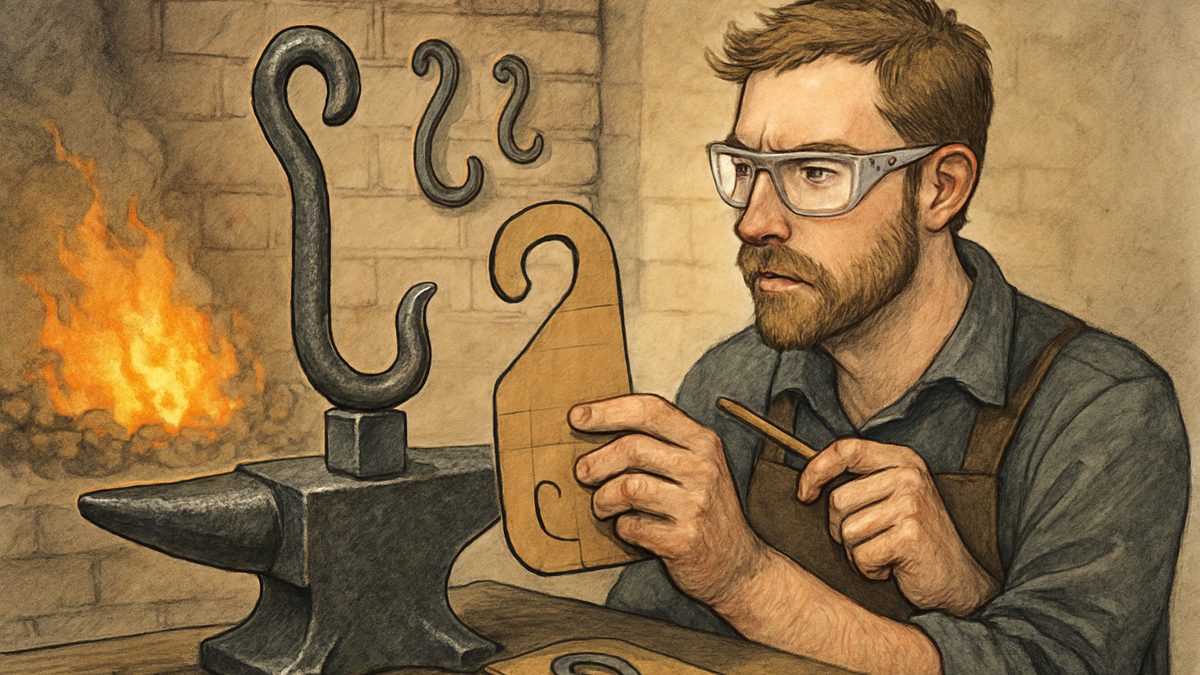
A 75 to 125 pound anvil suits most hobby work. 50 to 75 pounds handles hooks, leaves, and light hardware; go to 100 to 150 for blades, long stock, and tool-making. Choose forged steel or cast steel with a hardened face over cast iron. Mount it rock-solid on a hardwood stump or welded steel stand, with the face around wrist to knuckle height when your arms hang at your sides.
Which anvil should I get?
Four quick answers and you’ll get a weight range, what to look for in the steel, and where to set the face.
Stand relaxed with your arms hanging naturally, then measure from the floor to your wrist and to your knuckles. Leave both blank to skip.
The parts and what they do
- Face: the flat, hardened top where most shaping happens. A smooth, level face lets bars slide and roll predictably; a pitted one catches and marks work.
- Horn: your bending partner. Its taper sets the curves you can form. Rounder horns suit flowing scrolls; slimmer ones allow tighter bends.
- Heel and waist: support for cutting and flattening near the heel, and a narrow working area at the waist.
- Hardy hole: a square socket for hardy tools such as cutters, fullers, and bending jigs.
- Pritchel hole: a round hole for punching and drifting hot steel.
What weight to buy
| Weight | Good for |
|---|---|
| 50 to 75 lb | Hooks, leaves, and light hardware |
| 75 to 125 lb | Most hobby work; portable enough to move |
| 100 to 150 lb | Knives, longer blades, heavy tapers, and tool-making |
Mass absorbs the shock of each blow and puts the energy back into the work, so a heavier anvil makes shaping easier and less tiring. Lean heavier if you'll routinely work long stock or make tools. A heavier anvil also needs a heavier, more solid mount to perform well.
Cast iron, cast steel, or forged steel
Cast iron anvils are cheap, but the faces are brittle and chip, and the hammer feels dead on them. That makes the work slower and more tiring. Cast steel with a hardened face is a good middle ground. Forged steel is the traditional favorite: tougher overall, able to take a hard face, and easier to repair. Put your money into a hardened face and sound structure before brand names or a shiny finish.
How to check a used anvil
- Tap it. Bring a small hammer and tap the face, horn, and edges. A clear, even ring usually means sound steel. A dull thud can mean soft areas, internal cracks, or heavy repairs.
- Look for cracks, especially at the corners, edges, and around the hardy hole. Wire-brush a patch of rust to see what it hides.
- Check for repairs. Oversized welds, filled-in edges, or a built-up face all change how it behaves.
- Check the face. Lay a flat bar across it and see if it rocks. Small flaws dress out with a file; deep pits and heavy wear don't.
- Ask about its history, and photograph the measurements to get a second opinion from a local smith or online group.
Factor in the cost of any repair, plus transport. A 150-pound anvil needs at least two people or lifting gear, and freight shipping adds crating and handling fees.
Budget substitutes
You can learn real technique before buying a full anvil. A 1 to 2 inch AR500 hardened steel plate bolted to a heavy timber stump gives a reasonably hard striking surface. Thick mild steel plate, heavy railroad track stood on end, or a welded steel cap on a sturdy stump also work. Expect a deader feel and faster wear. Use lighter hammers and deliberate blows, and trade up when your skills and budget grow.
Mount it solid
An anvil must not move. Any wobble wastes energy and moves where your hammer lands. A classic stand is a heavy oak or ash post, 12 to 16 inches across, cut to working height with a splayed base. A welded steel box with internal bracing and a thick top plate is a compact alternative. Match the stand's mass to the anvil.
- Bolt it through. Heavy bolts, commonly 7/16 to 1/2 inch, with lock washers or nylon-lock nuts. A hardwood block wedged into the waist and lag-bolted down also works. Don't rely on epoxy alone.
- Damp the ring with a thin hardwood pad, rubber mat, or leather spacer under the anvil.
- Retighten the fasteners now and then. Hammering loosens them.
Set the height
Stand relaxed with your arms hanging naturally. A face around wrist to knuckle height is the starting point. For powerful overhand blows, set it near knuckle height. For detail work, a slightly lower face gives better wrist control. Test with the hammer and stock you'll really use, shim or trim the stand rather than changing your posture, and note the setting that works.
Look after it
Keep the anvil clean and lightly oiled when idle, and cover it in a damp shop. Don't strike hardened tools straight onto the face in ways that chip either surface. Dress small dents with a flat file, taking off as little as possible, and store tools in a rack instead of on the face. Next step: choosing the forge to sit beside it.
What you need to set up an anvil
- Cast steel anvilA hardened cast steel face is a good middle ground. Put your money into the face and sound structure, not the brand.See options on Amazon →
- Forged steel anvilThe traditional favorite: tougher overall, able to take a hard face, and easier to repair.See options on Amazon →
- AR500 steel plateA 1 to 2 inch plate bolted to a heavy timber stump lets you learn real technique before you buy an anvil.See options on Amazon →
- Heavy bolts and lock nutsBolt the anvil through, commonly with 7/16 to 1/2 inch bolts and lock washers or nylon-lock nuts.See options on Amazon →
- Rubber anvil padA thin rubber mat under the anvil damps the ring.See options on Amazon →
- Flat fileDresses small dents and flaws on the face, taking off as little as possible.See options on Amazon →
These are Amazon links. If you buy through them I earn a small commission, at no extra cost to you.
Pin the heat color chart by the forge
Get the free Heat Color Checklist: each glow paired with the move the metal is ready for, plus a setup walk-through before your first heat.
One free PDF, delivered instantly. No spam, unsubscribe anytime.
Modern Blacksmithing for Makers
The whole small shop: choosing a forge, anvil, and tools, hammer and tong drills, hardening and tempering, forge welding and scrolls, and a project path.
Read it on Amazon →What size anvil should a beginner buy?
For most hobby work, 75 to 125 pounds. A 50 to 75 pound anvil handles hooks and light hardware, and 100 to 150 pounds suits blades, long stock, and tool-making.
Can I use a railroad track as an anvil?
Yes, as a learning tool. Heavy track stood on end on a sturdy stump gives usable mass. It feels deader and wears faster than a hardened anvil, so use lighter hammers and trade up later.