
Forge welding, step by step: slow preparation, fast action.
A forge weld joins two pieces of steel with heat and a hammer. It rewards a slow, careful setup and then a quick, decisive move once the weld heat arrives. Most failed welds trace back to dirty faces, the wrong heat, or hesitation.
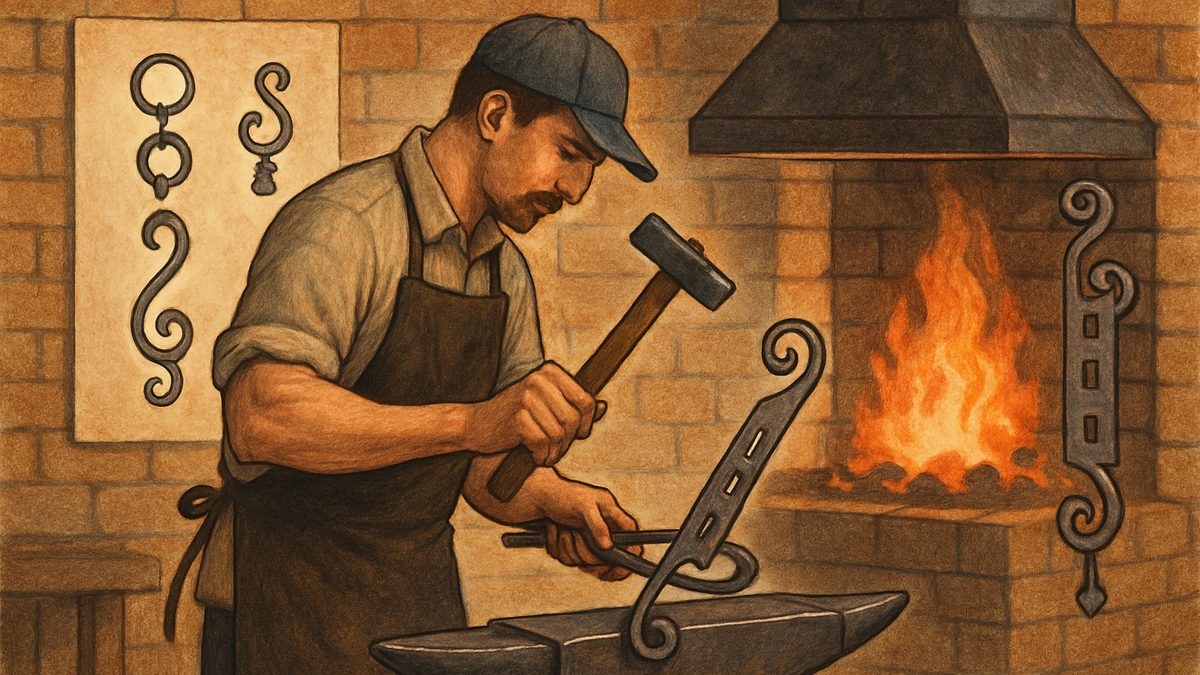
Clean both faces to bright metal and scarf the ends (a taper about 4 to 6 times the stock thickness). Heat both pieces evenly, dust borax on at near-welding heat, and keep heating until the flux runs clear and glassy and the steel reaches a bright orange to yellow. Then move fast to the anvil and land a solid, square first blow to close the seam.
Before you heat anything
Set up so every move is predictable: forge, anvil, and tools in the same places each session, good light to read heat color, and the clutter cleared. Keep hammers and tools near the forge so they're warm, because a cold tool chills the joint. Use tongs that fit the stock, since a slipping grip costs heat and can ruin the weld.
Gear: a leather apron, gloves you can still feel through, long sleeves in natural fibers, a face shield for scale and sparks, and a welding lens of the right shade for forge welding. Wear hearing protection, and a respirator if you're fluxing indoors or grinding.
Plan the whole sequence before the first heat: clean, scarf, flux, heat, strike. When the weld window opens, there's no time to look for anything.
Step 1: clean and scarf the joint
Get down to clean, bright metal where the pieces meet. A flap disc or a half-round file works well; use a wire wheel for larger flat areas. Remove all paint, rust, mill scale, oil, and grease, and finish with an acetone wipe if anything oily remains. Any trapped oxide will kill the weld.
For a butt weld, grind or file a tapered scarf roughly 4 to 6 times the stock thickness. For a lap weld, a flat lap where the faces sit flush works well. Keep the taper even, with no thin spots that will overheat.
Check the fit cold. Even a hairline gap traps flux and scale. Hold the faces flush with clamps, V-blocks, or a small jig.
Step 2: heat evenly
Bring both pieces up together, turning them so the heat soaks in rather than blazing the surface over a cold core. Don't heat too slowly, either: a slow heat builds heavy scale that the flux has to fight. In a gas forge, a slightly rich flame helps protect the steel.
Step 3: flux with borax
Plain borax is the small-shop go-to. When the steel is near welding heat, dust a thin, even layer only where the joint will form. Too much flux causes bubbles and inclusions.
Watch it melt. Flux that chars black or stays powdery means the steel is still too cool. When it turns clear, glossy, and runny, it's working: keeping air off the joint and sweeping scale away. Avoid breathing the fumes.
Step 4: bring it to welding heat
Welding heat is a bright, ropy orange to yellow, depending on the steel and your forge light. Learn it on scrap of the same steel in your own fire. Put the joint in the hottest part of the fire so both pieces arrive together, and be ready to move the moment the color is right.
Step 5: strike with purpose
Go straight from fire to anvil and land a solid, square first blow to close the seam. This blow bonds; it doesn't shape. Use full, controlled swings rather than short taps that glide, and hold the work firmly so the force goes into the seam. Work from the center of the joint outward to push flux out. Hesitation cools the metal and weakens the weld.
Step 6: work the seam
Reheat and hammer in short cycles, reheating whenever the color dulls or the hammer stops consolidating. Draw the metal out a short distance past the weld to blend it, and keep the worked area small, since overworking spreads heat and invites cracks.
Test your welds
Make three short bars with identical scarfed ends and weld them. Once cool, bend each weld to 90 degrees. A sound weld bends without a visible seam or crack; a weak one shows itself right away. Log the steel, flux, color, and hammer approach for each try, and repeat until your success rate is steady.
Why welds fail, and the fix
| What you see | Likely cause | Fix |
|---|---|---|
| Popping or crackling seam | Trapped flux or scale, or faces not touching fully | Back to welding heat, separate slightly, clean to bright metal, fresh flux, then a solid strike |
| Cold shut: a faint line or layer | Faces met too cool, or oxide kept them apart | Grind back to clean metal, re-scarf, and weld a touch hotter |
| Small holes or dark pockets | Oil, rust, or old burnt flux | Clean every heat, use fresh flux, wire-brush between heats; cut out deep inclusions |
| Grainy, washed-out surface | Held too long at extreme heat | Work quickly; normalize to refine the grain |
| Cracks as it cools | Restraint, uneven thickness, or a fast-hardening steel | Normalize after welding, or cool slowly buried in sand |
Normalizing and the rest of heat treatment are covered in how to harden and temper steel. A coal fire or a rich propane flame both work for welding; see choosing a forge.
What you need to forge weld
- BoraxPlain borax is the small-shop go-to flux. Dust a thin layer on near welding heat.See options on Amazon →
- Flap discCleans the joint down to bright metal and grinds the scarf.See options on Amazon →
- Face shieldProtects against the scale and sparks a welding blow throws off.See options on Amazon →
- Welding glassesA welding lens of the right shade for forge welding heat.See options on Amazon →
- Leather apronWear it with gloves you can still feel through and long sleeves in natural fibers.See options on Amazon →
- Hearing protectionFull, solid welding blows are loud. Wear it every session.See options on Amazon →
These are Amazon links. If you buy through them I earn a small commission, at no extra cost to you.
Pin the heat color chart by the forge
Get the free Heat Color Checklist: each glow paired with the move the metal is ready for, plus a setup walk-through before your first heat.
One free PDF, delivered instantly. No spam, unsubscribe anytime.
Modern Blacksmithing for Makers
The whole small shop: choosing a forge, anvil, and tools, hammer and tong drills, hardening and tempering, forge welding and scrolls, and a project path.
Read it on Amazon →What flux do you use for forge welding?
Plain borax covers most mild steel work in a small shop. Dust a thin layer on at near-welding heat and keep heating until it melts clear and glassy.
What color is forge welding heat?
A bright, ropy orange to yellow, depending on the steel and your forge light. Practice on scrap of the same steel in your own fire to learn it.