
How to harden and temper steel: normalize, harden, then tune.
Heat treatment is where a piece stops being only a shape and starts doing a job: holding an edge, taking a blow, or springing back. It's predictable metallurgy, done in a fixed order, and a small shop is a good place to learn it.
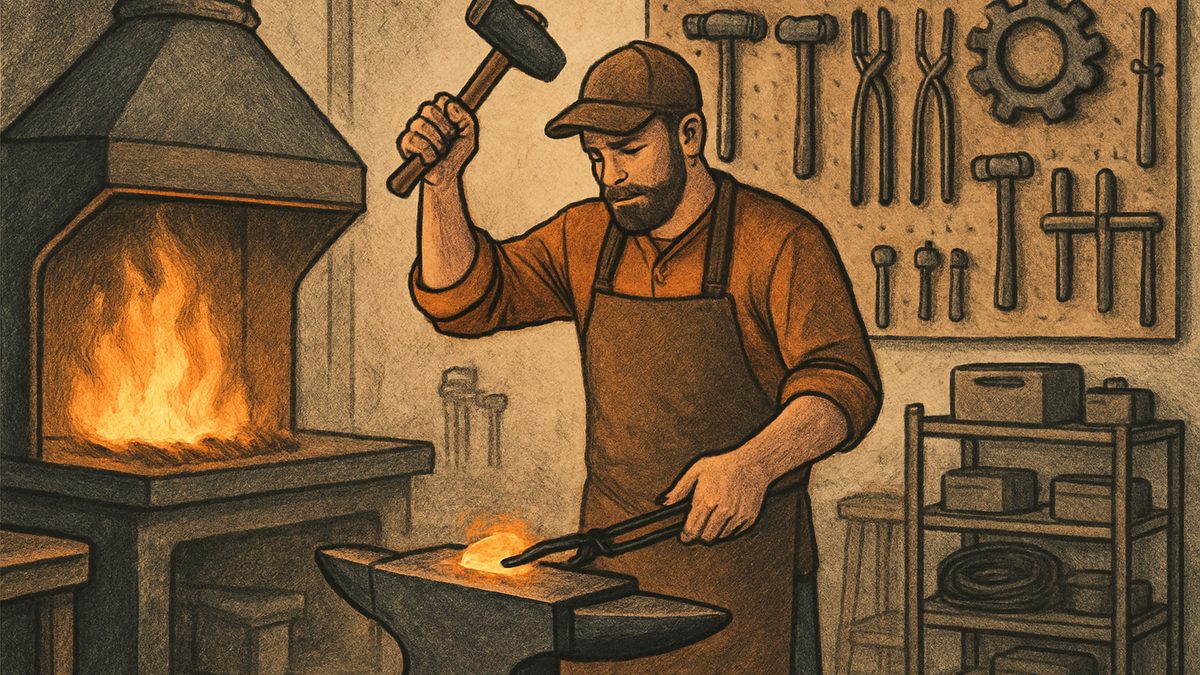
Work in three steps. Normalize: heat to a bright cherry above the critical temperature and cool in still air. Harden: heat to the steel's hardening temperature (about 1,400 to 1,550°F, bright cherry, for many plain high-carbon steels), soak, and quench, usually in oil. Temper right away: about 400 to 450°F (pale straw to brown) for cutting edges, 550 to 600°F (blue) for springs.
What heat treat does my steel need?
Pick your steel and the job, and you’ll get the normalize, harden, quench and temper steps in order.
Read the stamp or ask your supplier. When you have the maker’s data, use it.
Used to work out the oven temper time. Leave it blank to skip.
What each step does
- Normalizing resets the grain after heavy forging and removes built-up stress, so the steel hardens predictably.
- Hardening heats the steel into its transformation range and cools it fast. The result is very hard and also brittle.
- Tempering reheats the hardened steel to a lower temperature. It trades a little hardness for toughness, so the part survives real use.
Think of it as prepare, harden, then tune. Decide the job first: a cutting edge, a set of tongs, and a spring each need a different balance.
Know your steel
Carbon content limits how hard a steel can get, and alloying elements change the temperatures and the quench it needs. Read the stamp or ask your supplier, and use the maker's data when you have it. Steels common in small shops include 1045 for general parts, 1095 for blades, and O1 or A2 for predictable tool behavior.
With a mystery bar, be conservative: normalize, then harden and temper toward the lower ranges. A file test and a grinder spark test give you clues to carbon content. Test a scrap from the same bar before you commit a real part.
Step 1: normalize
Normalize after heavy forging, after a big weld, or when a bar has uneven thickness. Heat it to a bright cherry above the steel's critical temperature, soak until the temperature is even all the way through, then let it cool in still air. Never quench a normalizing heat.
One cycle is enough for most pieces. Heavy or high-carbon sections benefit from two, cooling to room temperature between them.
Normalizing in open air leaves scale and a thin, carbon-poor skin on the surface, worst on thin edges. That skin won't harden well, so on a cutting edge remove a little metal to expose fresh steel before you harden. A borax or anti-scale coating, or a short cycle wrapped in stainless foil, limits the damage.
Step 2: harden
Heat evenly to the steel's hardening temperature and hold it there long enough for the whole cross-section to match. Uneven heat creates gradients that show up as warps and cracks in the quench. For many plain high-carbon steels the target is a bright cherry, roughly 1,400 to 1,550°F, but alloys vary.
Color is a quick guide, and lighting shifts it. Daylight and a bright forge hood both wash out reds. A digital infrared pyrometer aimed at a clean spot, or a thermocouple, gives repeatable readings when precision matters. Match the two on a test coupon until you trust your eye.
Brush off scale before the quench so the surface responds evenly.
Step 3: quench
| Quench | Speed | Use it for |
|---|---|---|
| Water | Fastest | Simple, thin shapes and steels known to tolerate it. Highest risk of cracking and distortion. Use warm water, never icy. |
| Brine | Faster than water | Controlled experiments and proven recipes only. More cracking, distortion, and corrosion. |
| Oil | Slower, more even | The go-to for most small shops and most medium and high-carbon steels. Use oil labeled for quenching. |
| Polymer | Adjustable | Mixed stronger to act more like oil, weaker to cool faster. Follow the maker's instructions. |
| Air | Gentlest | Air-hardening grades only. They still need tempering. |
When you're unsure, choose the gentler medium and temper a little higher. That keeps toughness on your side.
Technique matters as much as the medium. Use a deep tank so the part goes fully under. Agitate it steadily to break the vapor layer that forms around hot steel. Lower long, flat, or thin pieces so the thinnest section enters first. Pre-warm oil to the maker's recommended temperature, and never let the bath get hot enough to smoke.
Check right away for cracks and straightness, then go straight to tempering.
Step 4: temper right away
Skipping the temper leaves a brittle, chip-prone tool. Too little temper and it shatters. Too much and it won't hold an edge.
| Temper color | Approx. temperature | Good for |
|---|---|---|
| Pale straw to brown | 400 to 450°F (200 to 230°C) | Knives and cutting edges |
| Blue | 550 to 600°F (290 to 315°C) | Springs and parts that must flex |
By color. Clean a spot on the hardened piece and heat gently. Thin oxide colors run from pale straw through brown and purple to blue. Scale, oil, lighting, and thickness all shift what you see, so practice on scrap of the same steel first.
In an oven. This takes out the guesswork. Preheat to the target, set the clean part on a rack, and temper about one hour per 1/4 inch (6 mm) of thickness. Let it cool in air; never quench from the temper. Many smiths temper twice at the same temperature to even out stress, especially on thicker pieces. Degrease parts first, ventilate, and avoid contaminating a food oven.
Match the temper to the job. Cutting edges stay harder with a lower temper. Impact tools like hammers and punches need more toughness, so they get a higher temper. Anything that takes repeated shock or bending should lean toward toughness: a chipped edge is worse than a softer one you can resharpen.
Test it in the shop
- File test. A sharp file skates off a properly hardened edge and bites into a soft one.
- Use test. Cut scrap wood or leather and watch how long the edge lasts and whether it chips.
- Bend test for springs. Flex a sample through its real range. If it cracks, it was over-hardened or under-tempered.
When it goes wrong
Warping. Reheat below the hardening temperature, straighten with light, controlled blows or a jig, then normalize. Severe warps take a few rounds of straighten and normalize. Avoid heavy hammering on a hardened piece unless you'll normalize it again afterward.
Cracks. Surface cracks can often be ground out, then the part normalized and re-hardened. A crack through the thickness usually means cutting back to sound steel or remaking it. If cracking keeps happening, use a gentler quench and check your soak time and temper.
Soft spots. A file that bites where it should skate points to a carbon-poor surface or a soak that was too short. Grind off the soft skin and repeat, giving thicker parts more time at heat. Normalize before you harden again.
Safety at the quench tank
Wear eye protection and a face shield, heat-resistant gloves, and a leather apron, with long sleeves and no synthetics. Keep combustibles away and a Class B extinguisher in reach. Never quench with wet gloves, and keep damp rags and wet floors away from oil: moisture causes violent steam bursts. Ventilate, because burning scale and oil fumes are harmful.
Log every run: steel, size, temperatures, soak, quench, temper, and the result. That notebook turns guesswork into a recipe. Heat color practice starts with the free checklist on the Blacksmithing page, and choosing the fire itself is covered in coal, propane, or electric forge.
What you need to harden and temper
- Quenching oilThe go-to quench for most small shops. Use oil labeled for quenching, never anything that smokes in the tank.See options on Amazon →
- Infrared pyrometerColor shifts with your light. Aimed at a clean spot, a pyrometer gives repeatable readings.See options on Amazon →
- Face shieldEye protection and a face shield go on before any part goes into the quench tank.See options on Amazon →
- Heat-resistant glovesKeep them dry: a wet glove at an oil tank can set off a violent steam burst.See options on Amazon →
- Leather apronPair it with long sleeves and no synthetics at the quench tank.See options on Amazon →
- Class B fire extinguisherKeep one in reach whenever you quench in oil.See options on Amazon →
These are Amazon links. If you buy through them I earn a small commission, at no extra cost to you.
Pin the heat color chart by the forge
Get the free Heat Color Checklist: each glow paired with the move the metal is ready for, plus a setup walk-through before your first heat.
One free PDF, delivered instantly. No spam, unsubscribe anytime.
Modern Blacksmithing for Makers
The whole small shop: choosing a forge, anvil, and tools, hammer and tong drills, hardening and tempering, forge welding and scrolls, and a project path.
Read it on Amazon →What temperature should I temper steel at?
For knives and cutting edges, about 400 to 450 degrees F, a pale straw to brown color. For springs, about 550 to 600 degrees F, which shows as blue. Oven-temper about one hour per quarter inch of thickness.
Should I quench in water or oil?
Oil is the go-to for most small shops because it cools more evenly and cuts the risk of cracking. Water is faster and harder but much riskier, so keep it for simple, thin shapes and steels known to tolerate it.