
Lapidary tools for beginners: a full kit for the price of a dinner out.
You don't need a grinder or a saw to make your first cabochons. A small set of well-chosen hand tools takes a stone from rough to glossy for less than the price of a single machine wheel. Spend on abrasives and safety, and scrounge the rest.
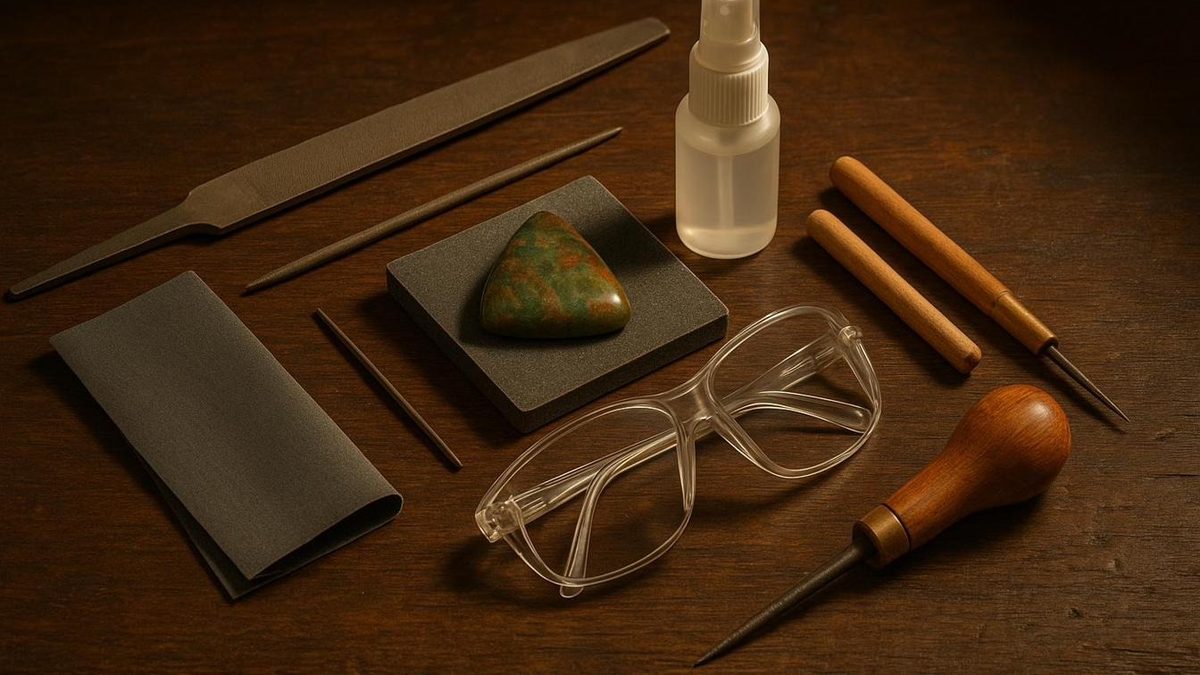
A rock-bottom kit runs about $35 to $55: a flat and a half-round file, wet-or-dry silicon carbide paper from 80 to 2000, a glazed tile or glass backing, a spray bottle and tray, wooden dops and gel super glue, aluminum or cerium oxide with felt or leather, plus safety glasses and a P100 respirator. An upgrade of about $80 to $120 adds diamond hand pads, needle files, a polish station, templates, and tile nippers.
The two kits
Start with the first list. Add the second only when you know you'll keep cutting.
| Rock-bottom kit (about $35 to $55) | Upgrade (about $80 to $120) |
|---|---|
| One flat and one half-round steel file, medium cut | A coarse and a medium diamond hand pad |
| Wet-or-dry silicon carbide in 80, 120, 220, 400, 600, 800, 1200, 2000, two sheets each | A set of riffler or needle files for notches and inside curves |
| A glazed tile or piece of glass as a flat backing | A firm felt or leather pad mounted to a board |
| A spray bottle and a dishpan or boot tray | A plastic template set |
| Wooden dowels or popsicle sticks, gel super glue, masking tape | Tile nippers for roughing blanks without a saw |
| A small jar of aluminum or cerium oxide with felt or leather | |
| ANSI-rated safety glasses and a P100 respirator (an N95 at minimum) for any dry cleanup |
Skip the rotary tool for now. It kicks up dry dust and burns edges in new hands. The rule for any tool: if it doesn't make the stone smoother or shinier in a clear, repeatable way, you don't need it yet.
Files
A flat (mill) file and a half-round, medium cut, often labeled second or bastard, do most of the heavy shaping, at around eight to twelve dollars each. Skip wood rasps; you want the sharp, closely spaced teeth meant for metal. Put a handle on the tang or wrap it in heavy tape. Files cut only on the push, so lift on the return, keep them wet, and wipe on a film of oil at the end of the day to keep the rust off.
Sandpaper and a flat backing
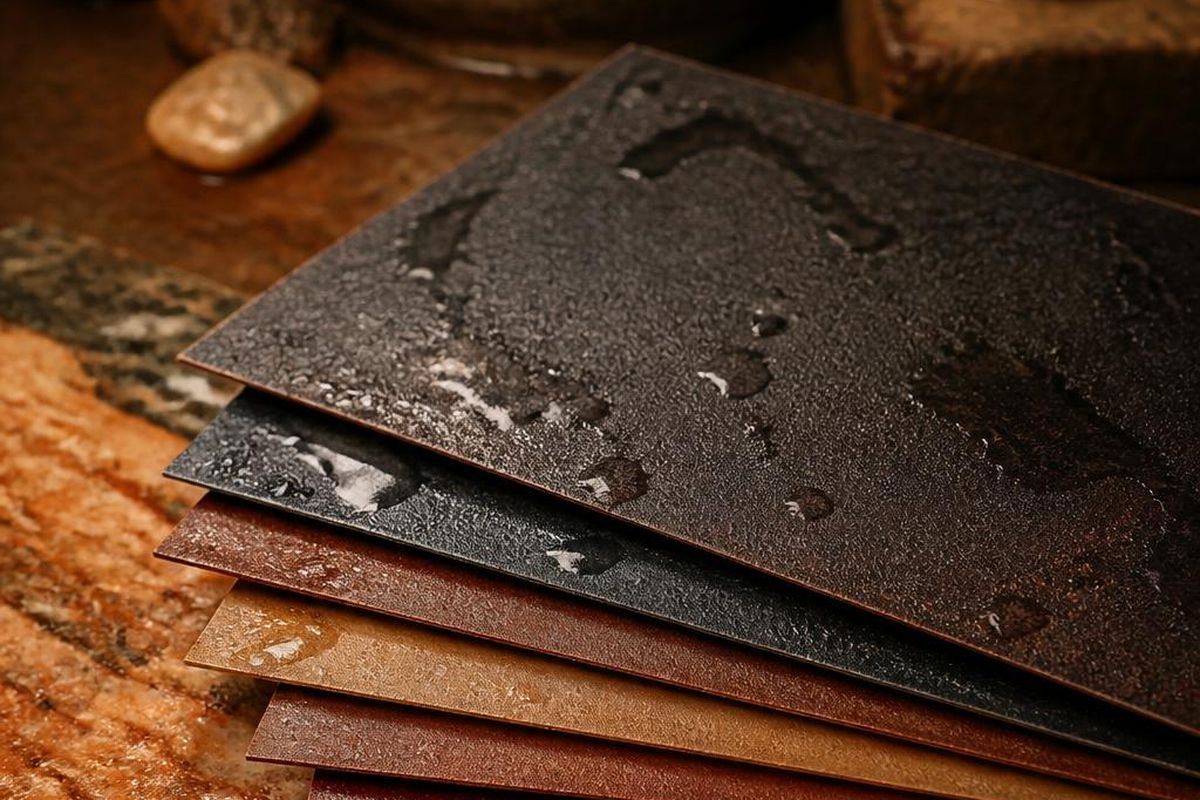
Silicon carbide wet-or-dry paper runs about fifty cents to a dollar a sheet at an auto-parts or hardware store, and most of the work runs on it. Write the grit on the back of every piece and keep each grit in its own bag.
A dead-flat backing is what turns the paper into a precision tool. A glazed ceramic tile or a slab of thick glass is ideal, often a couple of dollars as a store sample or frame glass. Check it with a metal ruler for light leaking underneath, tape the edges, and set it on a rubber mat so it can't skate.
Diamond pads: an accelerator, not a requirement
Diamond hand pads chew through agate, jasper, chert, and petrified wood and can cut your sandpaper use roughly in half. One coarse pad around 120 and one medium in the 220 to 400 range cover the heavy shaping. Pre-soak them, work them wet with the weight of your hand, and finish on the sandpaper ladder. Everything still finishes on paper.
Rifflers, nippers, and a polish station
- Rifflers and needle files (ten to twenty dollars a set) reach notches and inside curves. Diamond-coated ones suit hard stone. Clean them with a brass brush, never steel.
- Tile nippers with carbide jaws (twelve to twenty dollars) rough small blanks from thin slabs: nibble small bites just outside the traced line. Skip them on obsidian and anything visibly fractured.
- A polish station is just firm felt or leather contact-cemented to a tile or board. Keep a separate, labeled pad for each compound.
Dops and templates
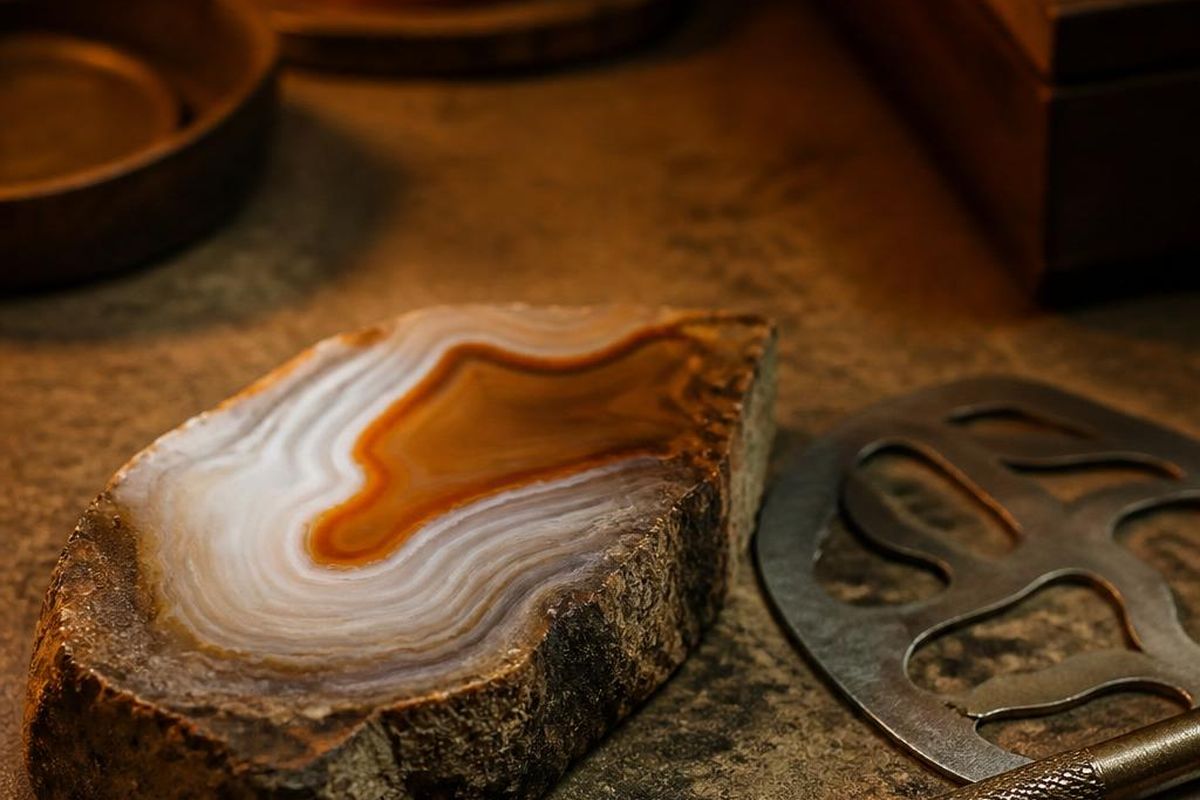
Cut quarter to three-eighths inch dowels into stick-length dops, or use popsicle sticks for small cabs. Scuff the tip, fold a strip of masking tape into a shallow saddle, degrease the stone's back, and press it on with a pea of gel super glue, sighting from several angles so the dop isn't crooked. To release, soak the joint in a little acetone, or freeze the cab for an hour and twist gently. Never pry on a thin point.
Trace ovals or teardrops with a fine marker on the flattest face, leave a millimeter or two of margin, and cover the line with clear tape so it survives the water. On dark stone, use a silver paint pen.
The workspace fits in a dishpan
About two feet of any steady counter is enough. A tray catches the water and grit, a spray bottle keeps the stone wet, a bright lamp shows the scratches, and sorted paper and your safety glasses complete it. The whole corner outfits for under twenty dollars. The one upgrade worth making is a bright 5000K LED desk lamp, ten or fifteen dollars.
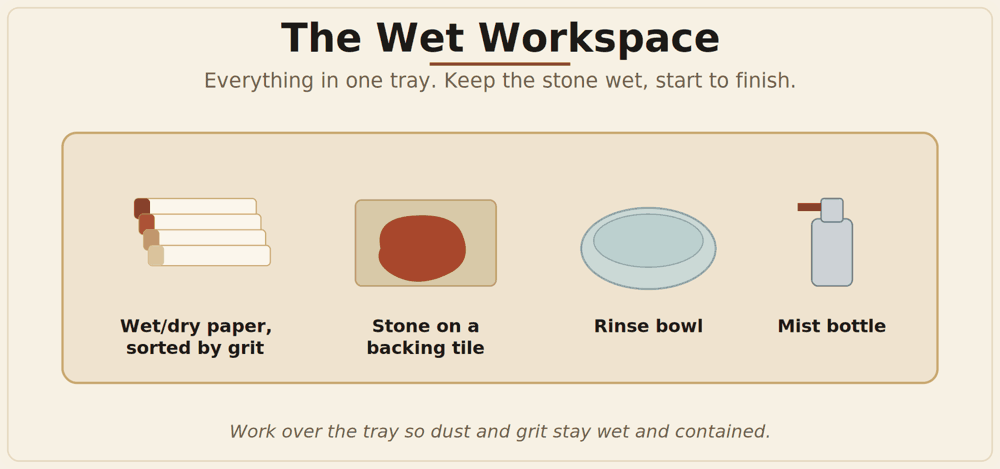
- Two rinse jars, marked COARSE and FINE. Switch to FINE at 400 and up. That one split blocks the carryover grit behind most cloudy polishes.
- Keep electricity away from water. Run cords behind the tray or use a battery lamp, with a drip loop below any socket.
- Take your rings off. Grit packs under a band.
Safety is part of the kit
Breathing stone dust over months and years causes silicosis, a permanent lung disease, and that's why this whole method is built around water. Keep every step wet so dust never reaches the air. Glasses go on before you touch a stone. The moment anything dries, put on the P100, and check its fit by covering it and inhaling: it should pull in against your face. Cloth masks do nothing here.
Never sweep or vacuum dried slurry; mist it first and wipe with a damp cloth. Never pour slurry down a drain, since ground silica sets up in pipes. And if you grind a copper stone like malachite or chrysocolla, that dust is toxic, so keep its sludge separate and bin it.
Before you cut serpentine: some serpentine and soapstone carry asbestos fibers, which are hazardous to breathe. Buy from a seller who confirms the stone is asbestos-free, keep it wet at every step, wear a P100 respirator, and never dry-work it. Treat any unlabeled green stone as suspect.
Make the abrasives last
Abrasives are the biggest ongoing cost. Retire a strip the moment it feels slick or clogs, flush the swarf often, and store paper flat in a lidded bin away from the damp. Budget about ten dollars a month for paper and polish, and expect 220, 400, and 600 to run out first. When the kit is ready, start with how to cut a cabochon by hand.
The kit on this list
- Silicon carbide wet/dry paperThe workhorse. Expect 220, 400 and 600 to run out first.See options on Amazon →
- Flat and half-round filesOne flat mill file and one half-round, medium cut, for shaping softer stones.See options on Amazon →
- Diamond hand padsA coarse and a medium pad for stones too hard for steel files.See options on Amazon →
- Dop sticks and dop waxHold the stone so you can sand the dome evenly.See options on Amazon →
- Oval and circle templateTrace clean, symmetrical outlines before you start cutting.See options on Amazon →
- Carbide tile nippersNibble a slab down to rough shape without a saw.See options on Amazon →
- Brass file brushClean grit out of your files. Brass, never steel.See options on Amazon →
- N95 or P100 respiratorCloth masks do nothing against stone dust. Work wet and wear a real mask.See options on Amazon →
These are Amazon links. If you buy through them I earn a small commission, at no extra cost to you.
Keep the checklist on your bench
Get the free Cabochon Starter Checklist: the beginner stones, the hand tools, the grit order, and the safety steps on one page.
One free PDF, delivered instantly. No spam, unsubscribe anytime.
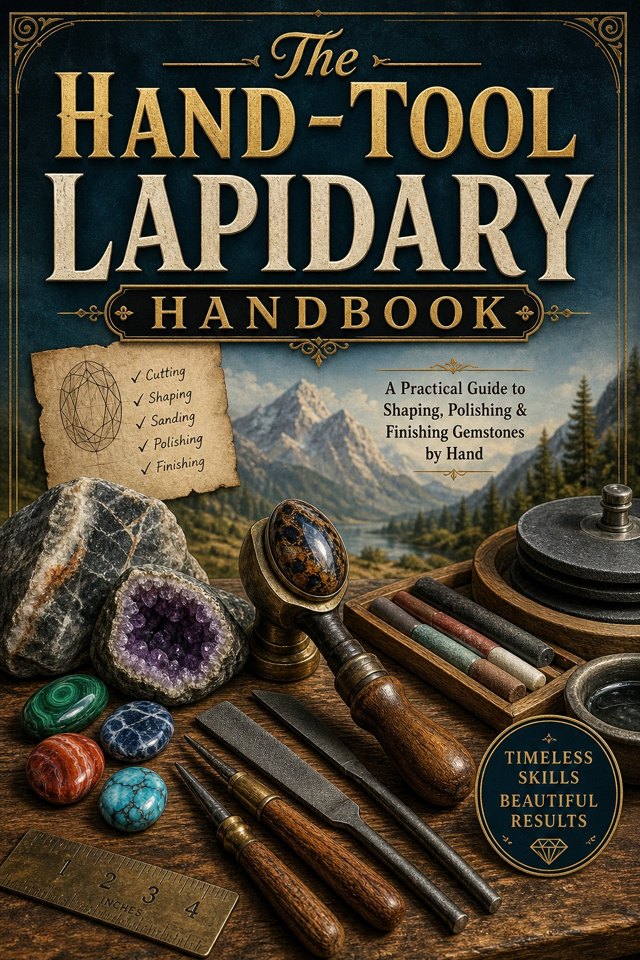
The Hand-Tool Lapidary Handbook
Shape, polish, and finish gemstones by hand: forgiving stones, budget tools, the grit ladder, three first cabochons, carving, polish, and fixes.
Read it on Amazon →Do I need a machine to start lapidary?
No. Files, wet-or-dry sandpaper on a flat tile, a spray bottle, dops, and oxide polish on felt make real cabochons. Skip the rotary tool until you have a feel for grit, water, and domes.
How much does it cost to start lapidary?
A rock-bottom hand-tool kit runs about $35 to $55. An upgrade with diamond pads, needle files, a polish station, templates, and tile nippers runs about $80 to $120.