
MIG welding for beginners: from setup to a clean first bead.
MIG is the shop workhorse because it's fast and forgiving when it's set up right. Setup comes first: the right outlet, the right wire and gas, and starting settings from a chart instead of guesswork. Then the hand skills.
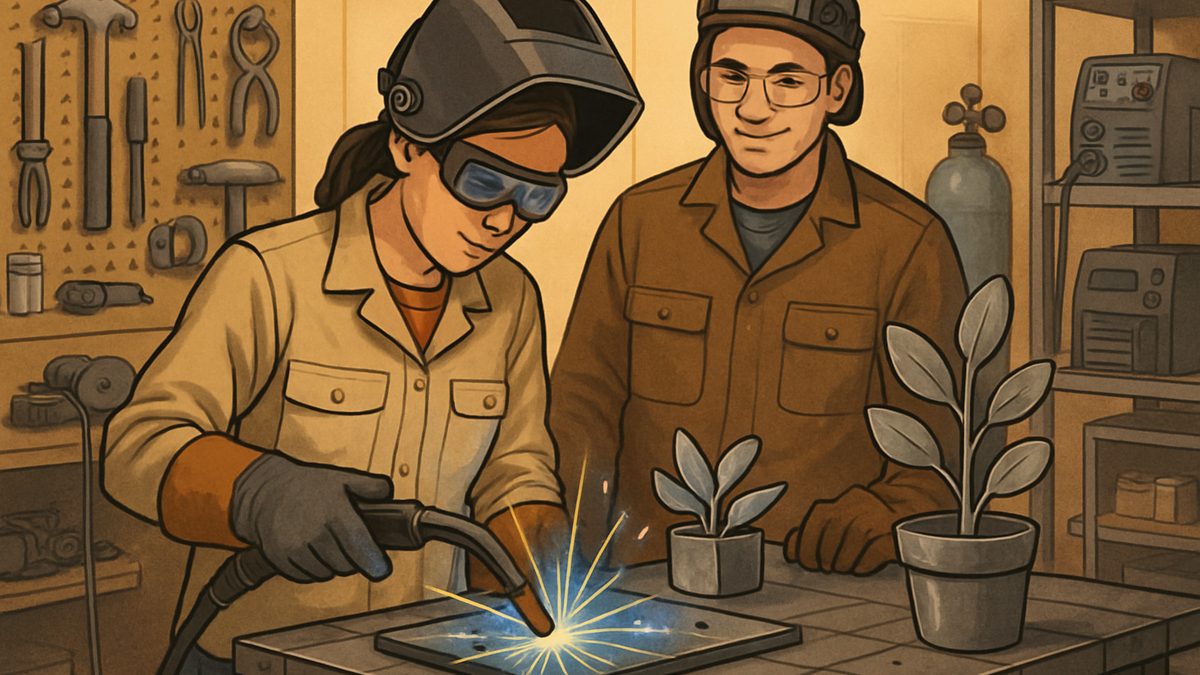
For mild steel, start with ER70S-6 solid wire in 0.030", a 75/25 argon/CO2 blend at 15 to 25 CFH, and the machine on DCEP. With 0.030" wire, try roughly 100 to 140 amps and 18 to 20V for 1/8" steel. Set 3/8" to 1/2" of stick-out, keep the arc about as long as the wire is wide, and change one setting at a time on scrap.
Find your MIG starting settings
Five quick answers and you’ll get the book’s starting settings for your steel, whether your power setup can handle it, and how to tune from there.
The book’s chart covers these three thicknesses of mild steel.
Power: what your outlet can handle
Most hobby MIG welders run on 120V and handle thin to medium steel comfortably. That covers tack welds, frames, brackets, and most maker projects. If your work moves toward thicker plate, structural members, or aluminum beyond thin sheet, a 240V machine gives you the extra amperage and a better duty cycle.
Use a dedicated outlet when you can. Household circuits and thin extension cords cause voltage drop, overheating, and nuisance trips. If you must extend, use a heavy-duty cable rated for the welder's amperage and keep it short. Some 240V units need a twist-lock or NEMA 6-50 receptacle, and you may need an electrician to install it.
Check the duty cycle too. A small MIG might be rated 30% at 90A, which means short bursts only.
Gear and ventilation before the first arc
- An auto-darkening helmet with reliable sensors. Check the lens for pitting or cracks before you start, and keep a spare battery.
- Leather gloves and a welding jacket or apron, with long sleeves in natural fibers underneath. Synthetics can melt.
- Safety glasses under the helmet for grinding and chipping, and closed-toe leather boots. Avoid pant cuffs that catch sparks.
- Fume control. A portable fume extractor close to the arc, plus a fan or window exhaust for fresh air. Galvanized, stainless, and coated metals need local extraction, and a respirator rated for welding fumes if you can't keep the extractor at the joint. A dust mask won't do.
- Fire basics. A rated extinguisher in reach, a metal bucket for hot debris, flammables out of the area, and a 30-minute fire watch after heavy welding.
Wire, gas, and polarity
Wire. Solid ER70S-6 is the go-to filler for mild steel in a small shop. It carries deoxidizers that tolerate slightly dirty or rusty surfaces better than bare wire. Use 0.023" for thin sheet, 0.030" as the all-around choice, and 0.035" when you need more deposition on thicker stock. Pick the smallest diameter that penetrates reliably.
Gas. For mild steel, 75/25 or 90/10 argon/CO2 gives a smooth arc. Straight CO2 is cheaper and penetrates deeper, but it brings more spatter and a rougher bead. Run 15 to 25 CFH: 15 to 18 for small nozzles in a calm shop, 20 to 25 for bigger cups or drafts. Too much flow causes turbulence and porosity. Too little lets oxygen in.
Polarity. Solid-wire MIG runs on DCEP (direct current, electrode positive). Flux-cored wire varies by type, so check the manufacturer's recommendation for the exact wire on your spool. Match the drive rolls to the wire, too: the wrong rolls or a gummed liner cause most feeding problems.
Starting settings by thickness
Treat this chart from the book like a recipe you'll tweak. It's for mild steel with 0.030" wire.
| Steel thickness | Amps | Volts |
|---|---|---|
| 18 gauge (0.05") | 40 to 55 | 18 to 20 |
| 1/8" | 100 to 140 | 18 to 20 |
| 1/4" | 200 to 250 | 22 to 26 |
Set the wire feed so the machine hits the target amperage first. Then dial the voltage until the bead wets out and the edges tie in. Start at the low side of the range and creep up. Make a short test pass on scrap after every change, because MIG responds right away.
The four hand habits that make the bead
Arc length. For solid wire, keep the arc about the same as the wire diameter. Too long invites spatter, undercut, and a cold-looking bead. Too short risks burnback, sticking, and an unstable arc. The right distance sounds like a steady buzz, with a smooth, fluid puddle. When the sound changes, fix the gap first.
Angle. On flat work, about a 10 to 15 degree push angle is a good start. On fillet welds, hold the gun roughly 15 to 20 degrees off vertical, tilted toward the direction you're moving. Pushing gives a flatter, wider bead and cleans better on thin metal. Dragging digs deeper, which helps on thicker edges.
Travel speed. This is your biggest heat control. Too slow gives a wide, rounded bead and more warping. Too fast narrows the bead and risks poor fusion. If the puddle bulges and sags, speed up. If the wire keeps dipping and spattering into the puddle, slow down. Make small corrections.
Motion. Start with straight stringer beads. Add a small, shallow weave only to bridge a wider gap. On thin sheet, stitch weld: short runs with a pause to cool between them.
Fit-up beats more amps
Consistent gaps and square edges give better fusion at moderate settings than cranking the machine up. Clamp or fixture the parts, then place small tacks on opposite sides to balance the heat. Measure before and after tacking, because parts drift as tacks cool.
Good first projects
Build a small tool stand or jig first to practice square corners, tacks, and fillets. Use 16 to 14 gauge sheet and 1/8" to 3/16" angle or tube; those sizes are forgiving. Once straight joints feel steady, move to a simple table frame, then a bike rack or planter for curves. Keep a settings log for each build: material, thickness, wire, gas, voltage, wire feed, and a photo of the bead that worked.
When a bead goes wrong, the fixes are in porosity, undercut, and the common weld defects guide.
What you need for your first beads
- ER70S-6 MIG wire, 0.030"The go-to filler for mild steel, and the size the starting chart is built on.See options on Amazon →
- Auto-darkening welding helmetPick one with reliable sensors, check the lens for pitting or cracks, and keep a spare battery.See options on Amazon →
- Leather welding glovesWear them with a welding jacket and long natural-fiber sleeves. Synthetics can melt.See options on Amazon →
- Welding fume extractorKeep it close to the arc, with a fan or window bringing in fresh air too.See options on Amazon →
- Welding fume respiratorFor galvanized, stainless, and coated metals when you can't keep the extractor at the joint. A dust mask won't do.See options on Amazon →
- Fire extinguisherKeep a rated one in reach, and still do a 30-minute fire watch after heavy welding.See options on Amazon →
These are Amazon links. If you buy through them I earn a small commission, at no extra cost to you.
Keep the fault finder by the welder
Get the free Bead Fault Finder: match what you see to the likely cause and the fix for MIG, TIG, and stick.
One free PDF, delivered instantly. No spam, unsubscribe anytime.

Modern Welding for Makers
The whole small shop: power, ventilation, and layout, a chapter each on MIG, TIG, and stick, starting settings by thickness, and beginner projects.
Read it on Amazon →What settings should I use to MIG weld 1/8 inch steel?
With 0.030 inch wire on mild steel, start around 100 to 140 amps and 18 to 20 volts. Set the wire feed to reach the amperage, then adjust voltage until the bead wets out, testing on scrap.
Should I push or pull when MIG welding?
Pushing gives a flatter, wider bead and better cleaning on thin metal. Dragging gives deeper penetration for thicker edges. Match it to the joint and the plate thickness.